2026年2月6日
Installing aluminum folding door has certain technical requirements. Make sure to complete each step as per the instructions. Here is a guide on how to install them, hoping it will be helpful to you.
Tools: hammer, drill, screwdriver (cross-head and flat-head), wrench, level (absolutely essential – if it’s off-center, you won’t notice any change), tape measure (the more precise, the better), and marker pen (for marking the positions of items).
Materials to be prepared: sealant, steel nails, pressure blocks, rubber sleeves (buffer pads for screws) and self-tapping screws.
Inspecting the door and track: Before drilling, measure the opening of the door three or four times. Ensure that the length of the track matches the opening. Check if the door and track have any dents or bends.
First, measure the height and width of the door opening. The tracks must fit perfectly. If the pre-cut tracks are too short, cut off the excess part. Then, use a marker to draw the lines for installing the tracks on the wall. Mark the positions where the screws need to be installed.
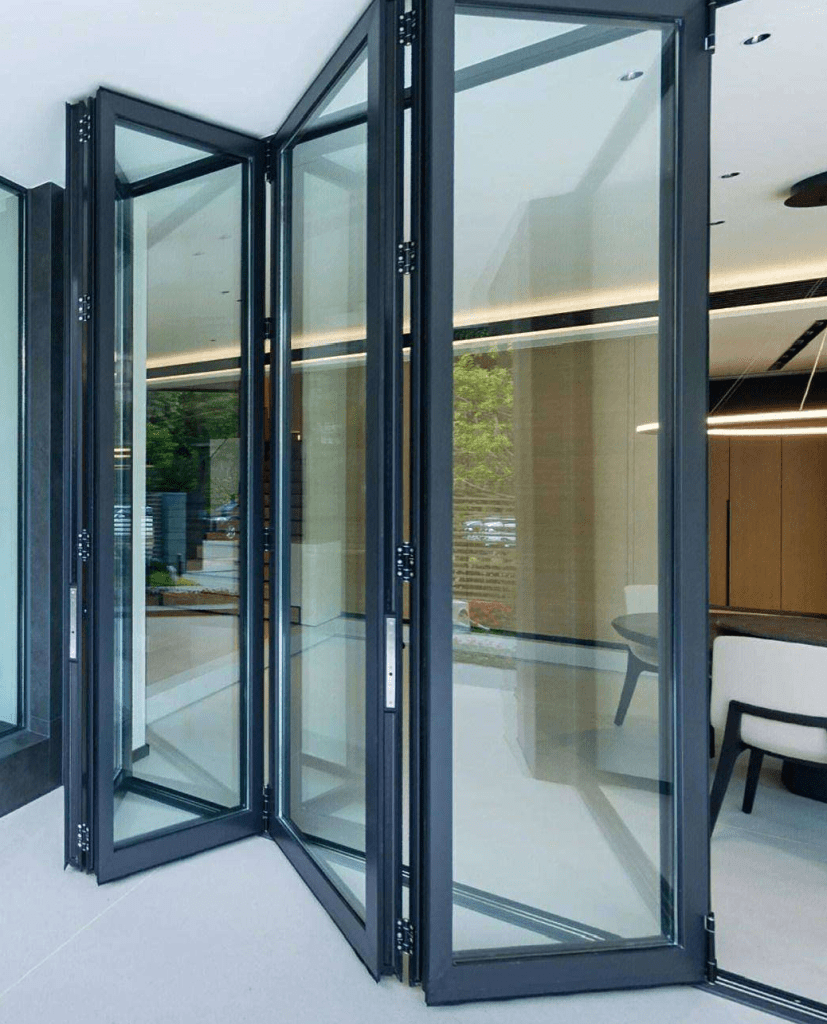
Folding doors are usually composed of several parts. Lift each door panel, insert the top of it into the track. Gently push the door panels together to stack them neatly. Now, check if the edges of the door are aligned with the sides of the door opening. If one door panel protrudes more than the others, it indicates that the track is skewed – adjust the mark and try again.
According to each person’s height, install the handle in the appropriate position. You can simulate opening the door to confirm the position of the handle.
The guide rail enables the door to slide smoothly. Take out the drill bit and drill holes along the previous marks. First, put on the rubber sleeve. Then screw in the self-tapping screws to fix the guide rail to the wall or the door frame. Then test the stability several times. It’s fine as long as it passes the test under a reasonable force.
Fully open the door, then inspect the metal pieces (magnets) at the edge of the door. Mark the alignment positions of them on the wall or the door frame. Drill holes there, put on rubber sleeves, and then tighten the magnetic strips in place. Close the door for testing – if the magnetic strips do not stick, adjust the magnetic strips until they do.
Some doors have door frames. If your door has a door frame, align the screw holes on the door frame with the marks on the wall. Tighten the screws. At this point, you can use a level – if the door frame is crooked, the door won’t close properly. Shake test: Gently shake the door frame. If it shakes, tighten it forcefully.
Appearance inspection: Ensure that the surface of the folding door is smooth without any flaws, the color is uniform, and there are no obvious scratches or depressions.
Flexibility test: Operate the door panel to ensure smooth opening and closing with no abnormal noises.
Stability verification: Check whether the connection between the door frame and the wall is secure and free from loosening.
Sealing check: When the door is fully closed, check if the gap between the door is uniform and ensure good sealing performance.